
Text by Bethany Adams
Delightfully accessible and increasingly popular—for good reason—container gardens are an attainable alternative to more traditional options, and they’re ideal for your cottage’s yard. Shade gardens, butterfly gardens, herb gardens . . . No matter your preference or need, potted plants are ideal for anyone who doesn’t have the time for extensive landscaping. And whether you just want to add a handful of pots to your porch or you’re feeling a bit more ambitious, a container garden is the perfect solution. Ready to try your hand at the trend? We’ve put together this guide to help jump-start your journey—from picking out the plants to kicking up your feet and enjoying the view.
Planning Makes Perfect

Researching suitable plants for your garden zone and level of sunlight exposure will help you get started. Visit your local nursery for expert advice on which plants will produce blooms at different points in the season—with careful planning, you can have an evolving display of blossoms from early spring and into the fall.
Many container gardeners, like expert Claus Dalby, start by selecting a colorway to create a cohesive display. Floral varieties come in an endless array of colors, so whether you prefer a monochrome approach or a selection of complementary shades, you’ll have no shortage of options.
There are three major categories when it comes to choosing decorative plants: thrillers, tall plants that will add height to your display; fillers, low growers that can be planted around thrillers to contribute a full look; and spillers, trailing plants that hang over the edge of the pot for an artistic flourish. Balance selections from each category for a varied, interesting display.
Time to Go Shopping
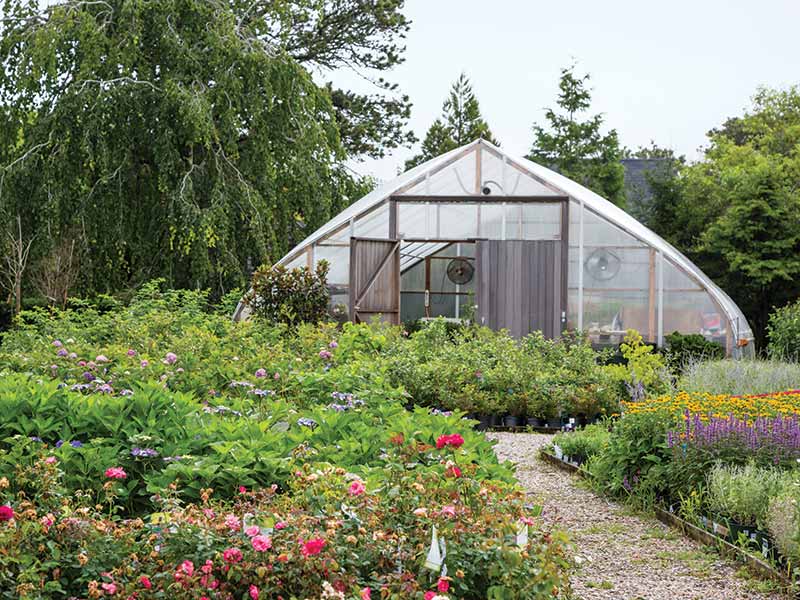
Large garden centers offer a wide range of plants at affordable prices—and some even have the occasional sale—but your local nursery can help provide invaluable expertise and, oftentimes, a healthier selection.
When planning a container garden, picking out your planters is of the utmost importance. Styles, shapes, and shades are up to your personal preference, but proper drainage is nonnegotiable. If your dream pot doesn’t come with drainage holes, not to worry—just see the next section for a few solutions!
Before you head home, make sure to pick up enough soil for your needs. Opt for an all-purpose potting mix, not garden soil, as the latter won’t drain well enough. [Note: Never use dirt from the yard or reuse potting mix from other plants, as it can hold fungi or other contaminants that can be damaging to your new additions.
Helpful Hardscaping
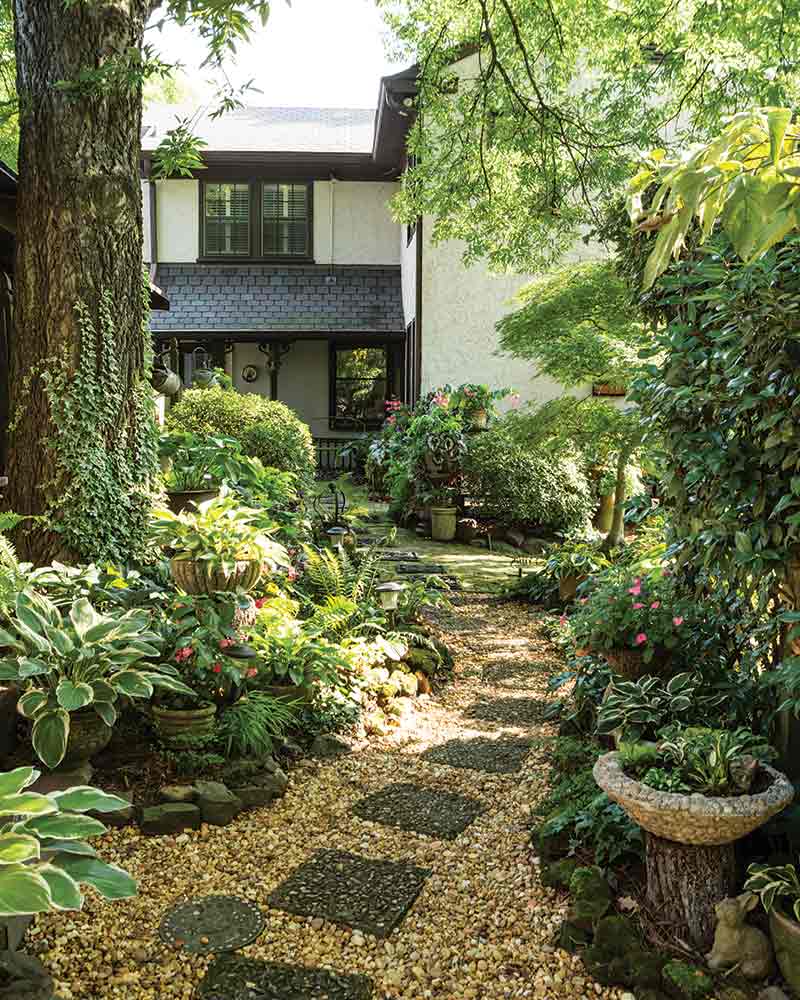
One of the best things about container gardens is how easy it is to change things up, but it’s far easier to do so with empty containers. Take your time playing with the layout and seeing what looks good before you add the potting mix.
Take the vertical plane into consideration when designing your garden—utilize risers or stairs to add height and mix and match a variety of container sizes to show off everyone’s strengths.
If you’re interested in a more ambitious project, consider hardscaping. Provide a flagstone path for meandering throughout the garden, add a focal piece like a fountain or birdbath, or install an arbor to better highlight the beautiful view.
Get Planting

Having purchased plants based on your zone and your yard’s sunlight exposure, your remaining major concern is drainage. No holes in your favorite pot? You can drill your own (using a masonry bit for ceramic planters) or use the pot-in-a-pot approach by placing a plastic container into the larger receptacle (just make sure there’s enough space beneath the inner container that it doesn’t sit in the water that drains through).
A longtime tip that’s better left in the past is to place rocks beneath the soil in your pot. This can inhibit drainage more than promoting it and cause more issues than it solves. You can, however, place a shard of terra cotta over your pot’s drainage hole to allow water through while keeping the potting mix from clogging the opening.
Fill your pot two-thirds of the way with potting mix. Gently remove your plants from their containers, and loosen the roots a bit with your hands. After carefully transferring the plants to their new home, add a bit more potting mix around the bases of the plants and give everything a good soak of water!
Keep It Up

With everything in place, all that’s left is to care for and nurture your new floral friends. Upkeep can be daunting, but with a little research into your selected plants and your zone, you’ll be able to keep everyone happy and healthy. Regular watering is, of course, vital—and with most annuals, daily watering is best.
Deadheading can help extend the season for your blooming plants, but it’s recommended to do research on your individual plants before breaking out the clippers. If you do choose to deadhead, either by cutting or pinching, it’s recommended to sever the stem just below the spent flower and above a set of healthy leaves.
As your plants can quickly use up the nutrients that come in the potting mix, regularly fertilizing them can help contribute to healthy growth. Experts recommend a combination of granular and liquid fertilizer, which provides both a quick burst of energy and a slow, sustained stream of nutrients. Feeding every two to three weeks from spring to fall is the standard, but you should consult with your local nursery for guidance on your particular plants.
Enjoy The View

Creating your container garden may seem like a lot of work, but with a little research, it can be more than attainable—and well worth the effort. With your new blooms settling in, all that’s left is to create the perfect spot for enjoying the view. From a simple garden bench, porch swing, or lawn chair to a covered patio or pergola, there’s plenty of inspiration for crafting a cozy outdoor spot that will let you appreciate every ounce of beauty your new garden has to offer—just don’t forget the cold drink!


![“I think my own personal style is a bit of French design [and] a little bit of English, but I just love that overly collected, curated, layered space that looks lived in and comfortable,” Paige says.](https://thecottagejournal.com/wp-content/uploads/2026/02/Photo-May-05-2022-2-46-08-PM_OTR-feat-218x150.jpg "Designer Paige Kontrafouris Layers Her 100-Year-Old Home with Collected Treasures")


